
Tutorial: Masking ugly gel plate prints using handmade masks
TUTORIAL

Got some ugly gel plate prints laying around? Cover them up with handmade masks and some opaque paint. It's a fun, low-pressure way to give those 'meh' prints a second chance.
With a few simple techniques, you can transform them into bold, dynamic layers that add depth and intrigue.
Don't toss those prints—let's rescue them and turn them into something amazing!
Let’s get started…


PRINTS AND MASKS
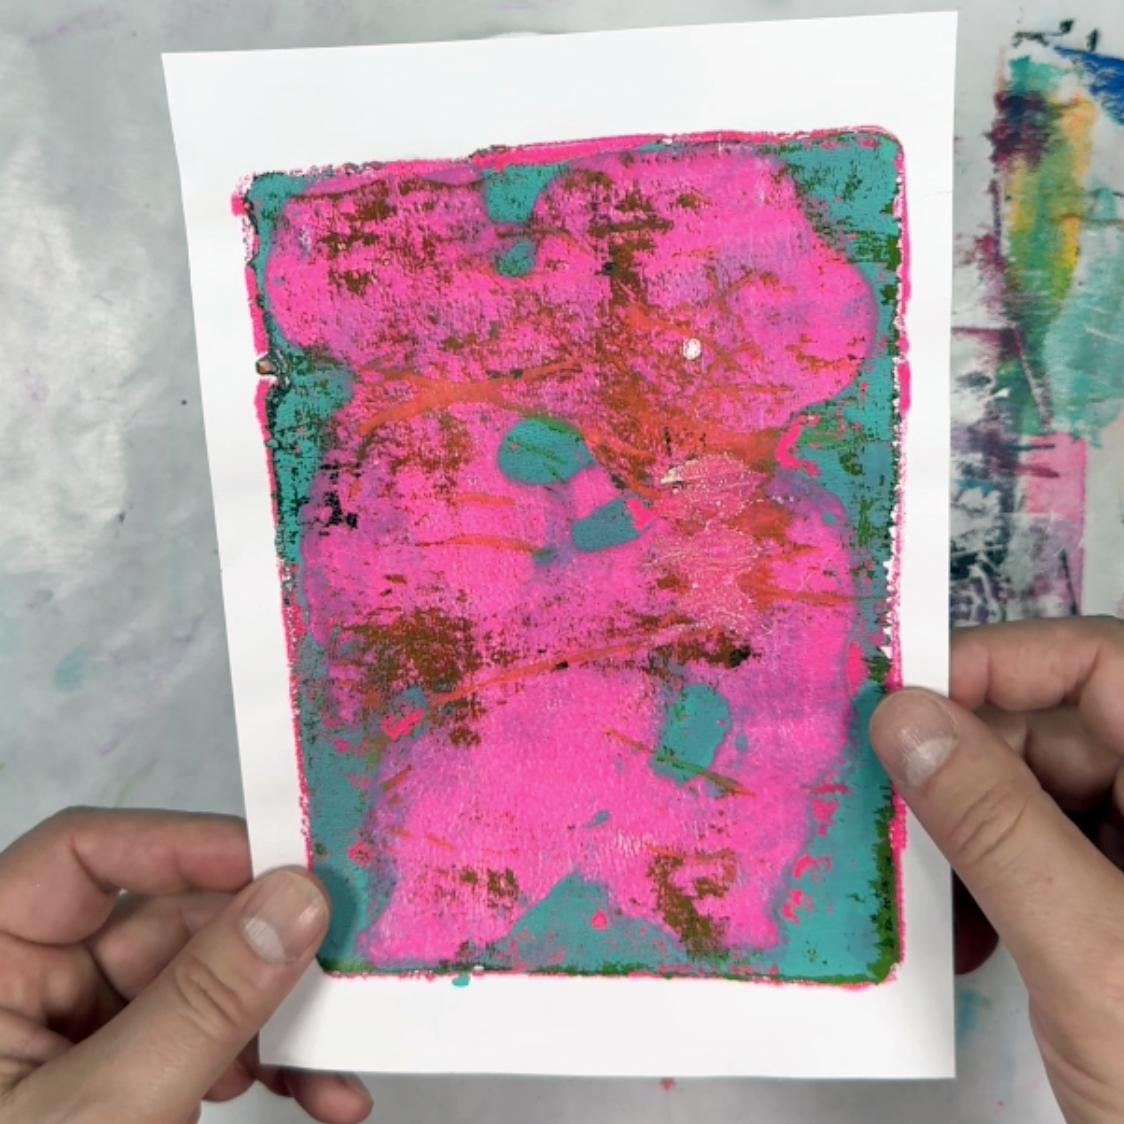
To get started, grab some ugly gel plate prints. We all have them… you know those prints that just didn’t work out but you couldn’t bring yourself to throw them in the recycle bin? Dig through your print stash and grab some nice and ugly ones.
For the masks, I made some circles using card stock. It’s up to you what shape you’d like to use. In my case I have a large circle cutter and used it to cut out some circles. Easy peasy.
A thinner card stock works well. So does any kind of thinner plastic- reusing sheet protectors makes nice masks and stencils.
TIME TO PRINT


When you’re ready to print, add some dark opaque paint to the plate. The good paint brands will tell you on the tube or bottle if they are opaque or transparent.
Arrange the masks on the plate. Leaving some space between them will help this effect work better.
Grab your ugly print and lay it on the plate. Let the print sit for a few minutes… I usually let it sit for at least 5 minutes and as long as a few hours.
Then pull your print… no more ugly print!

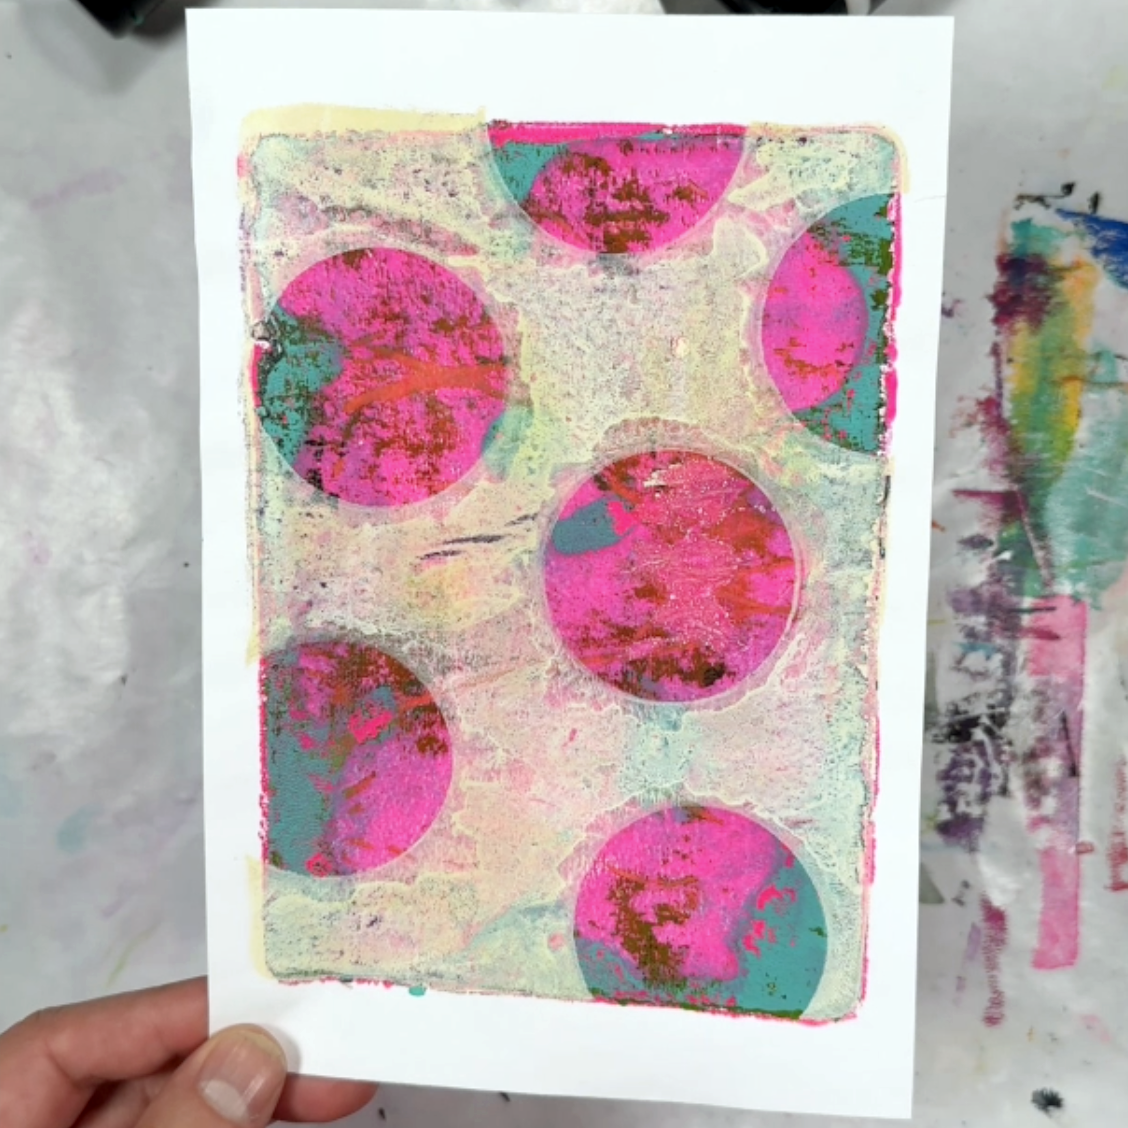
It works with lighter paint, too. Just be sure the paint is opaque so the effect works and it covers up your ugly print.
Happy printing!

Want ALL the details about working in board books? Why not take my FREE online class that shows you all the tips and tricks.
Board books are so much more interesting than a typical sketchpad. Aaaand, they're a total blast! With just a few tips I can help you learn the ins and outs to collaging in board books in my popular FREE online class, Build your Creativity: Board Book Basics!
