
Tutorial: gel printed booklet made from one sheet of paper
TUTORIAL

Yes, you can make a fun little book out of one sheet of paper!
At the end of this project you will have a cute booklet, perfect for a personalized gift, a small journal, or just an excuse to use your Gelli plate!
Let’s get started…
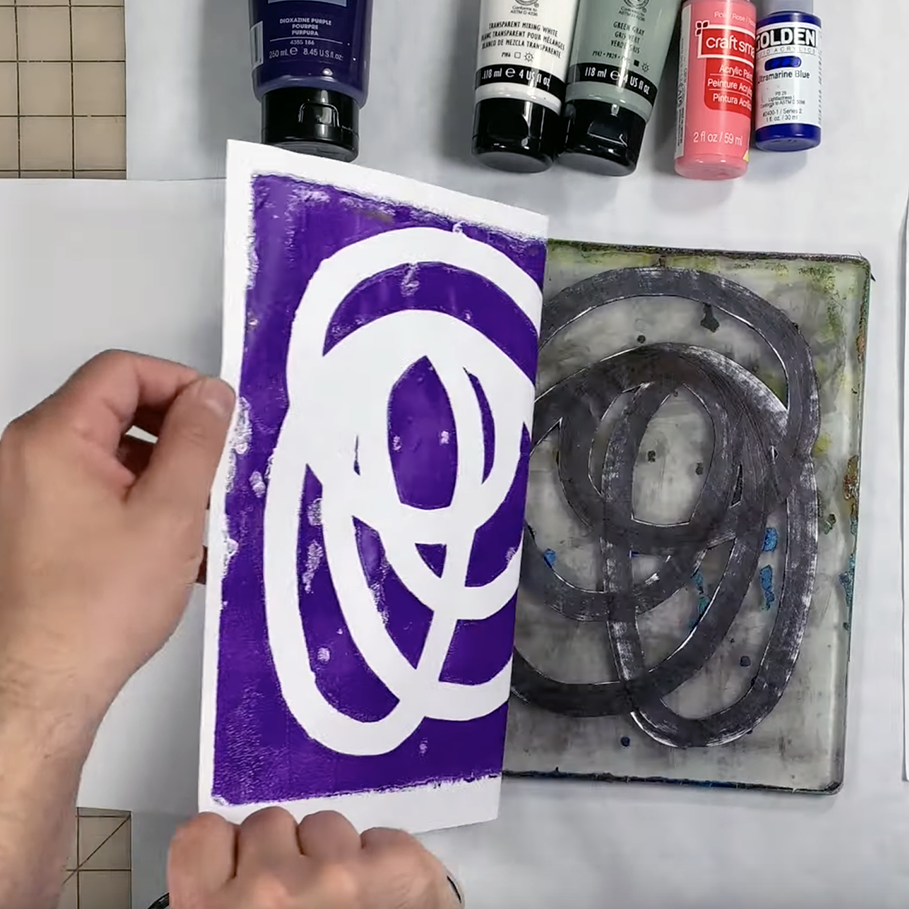
STEP 1: PRINT

First, grab a large sheet of paper. I’m using a piece of drawing paper from a drawing pad that’s 18×24” / 45.7x61cm.
Start printing on the paper using the Gelli plate. Just print wherever you want. There’s no need to plan. The goal is to cover one side of the sheet of paper.


Using a smaller Gelli plate can be beneficial because you can pick up the plate and place it on the paper. This way you can see where you are printing.
Don’t forget about stencils and masks!
STEP 2: FOLD THE PAPER


Once you are finished printing, fold the paper in half with the printed side out. A bone folder can help crease the paper.
Then fold both edges in to the center fold. You will now have three folds.
Next, use a ruler to measure every third and mark with a pencil. Then fold at the marks, folding with the printed side towards you. Repeat with the other third. You will have two folds.
(Watch the video below for clarity.)
STEP 3: CUT THE PAPER


Turn the paper over to the white side so you can easily see the folds. Mark with the horizontal folds meet the two outer vertical folds.
Then cut from the edge to the marks.
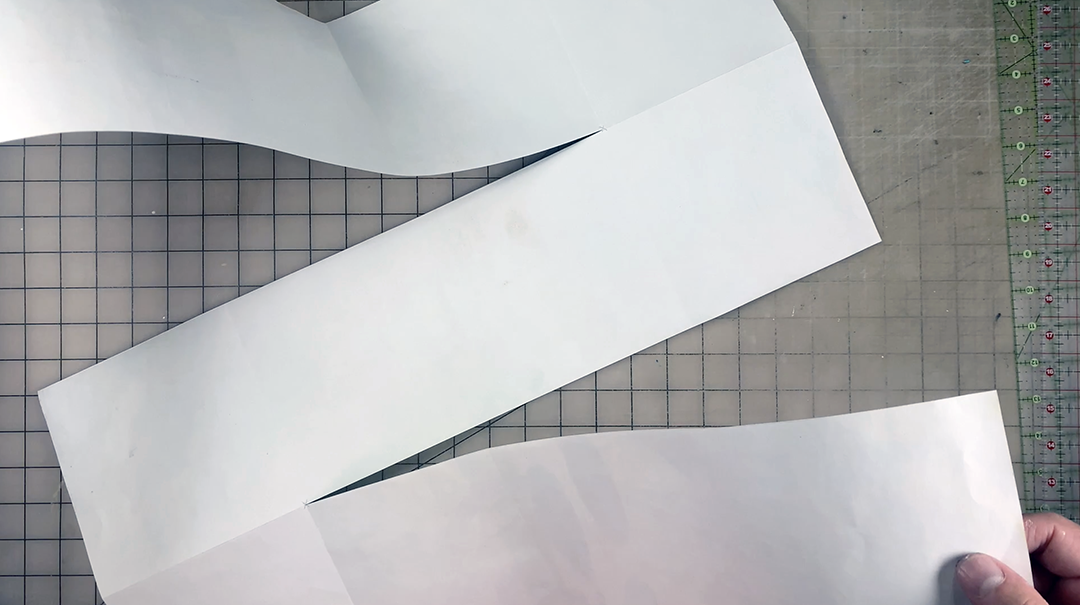

You will now have a zigzag. Zigzag fold the pages.
(Watch the video below for clarity.)
STEP 4: ADD MORE TO YOUR BOOKLET


You can now add collage, paint, marker, ink… anything you’d like to the book.
If you’d like, you can glue the back of the pages together. You don’t need to, but it does make the book sturdier.
You can also add a cover it you’d like… use another piece paper to create a cover. Just cut to the measurement of the book adding a bit extra for the spine.
Glue the end papers to the cover. I don’t glue the spine in order to allow the book to lay flat.
Trim the cover and end papers.
Congrats… you now have a book you made from one piece of paper!
Happy printing! 🎨
Want to learn more about gel plates?? Check out my FREE video, Five Free Gel Plate Tips.
It’s the hottest freebie on the internet! I created a 5 minute video just for you to learn awesome gel plate tricks, like using paint pens and making your own stencils. Check it out!
