
Tutorial: make layered monoprints using your own stencils.
TUTORIAL
Creating layered monoprints with a Gelli Plate and your own stencils is a fun way to bring richness into your art.
Experiment with various paint viscosities and gel plate techniques to discover unique effects, resulting in beautiful, one-of-a-kind monoprints.
Let’s get started…
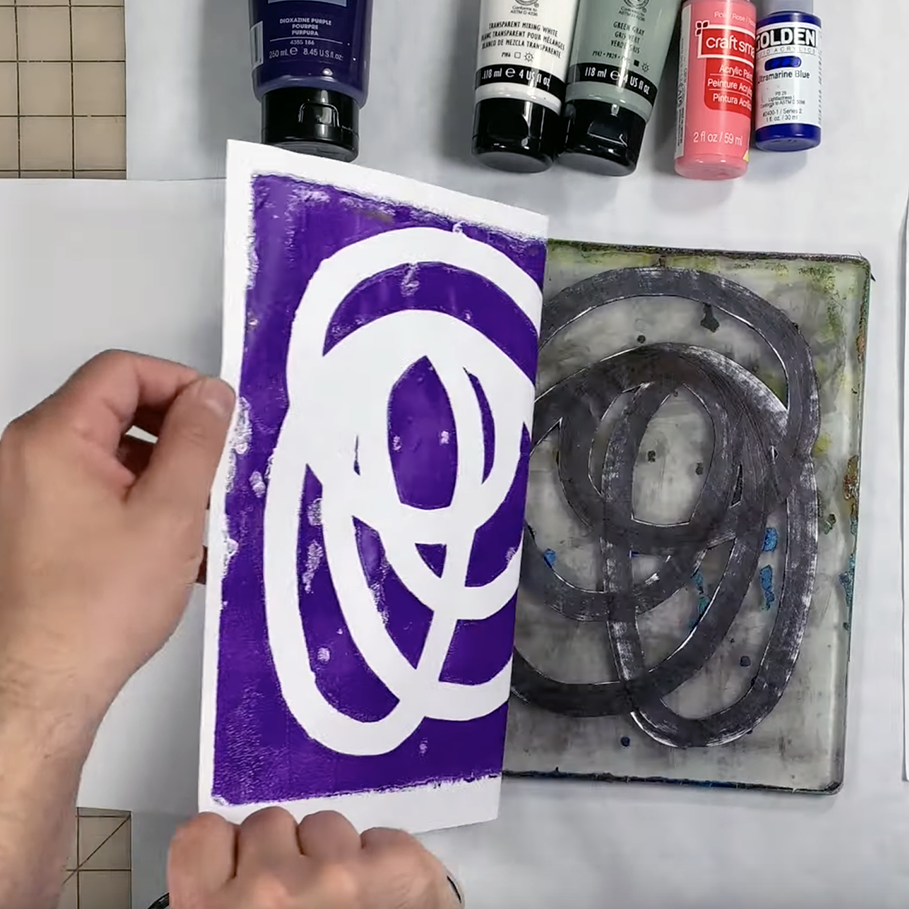
ADD THE FIRST LAYER


Start by printing with your stencils. I make my own by cutting out shapes on card stock. You can find royalty free images online that you can download, print, and use as templates.
Using a second Gelli Plate allows you to roll paint on to the brayer to be more precise. If you don’t have a second plate, you can use waxed paper, greaseproof paper, or something similar to “ink up” your brayer.
Let this layer dry completely.
BUILD UP ADDITIONAL LAYERS


Use your favorite gel printing techniques to add more visual texture. Here I’m using a Posca paint marker to add black dots.
You can also mask parts of the plate for a dramatic background. Use scrap paper to cover, or mask, parts of the plate. Use transparent paints for a layered affect.
Remember to let each layer dry before adding more.
PULL YOUR PRINT


When the first layers are dry, add a thinner layer of a lighter colored paint. Then lay your paper on the plate and press.
Let the paper sit for a few minutes or until the paper is completely dry to the touch.
Then pull your print.
Have fun!💥🎉🎨
Check out all my favorite gel plate supplies… everything you need to get started with gel plates!
As an Amazon Associate I earn from qualifying purchases.
Want to learn more about gel plates?? Check out my FREE video, Five Free Gel Plate Tips.
It’s the hottest freebie on the internet! I created a 5 minute video just for you to learn awesome gel plate tricks, like using paint pens and making your own stencils. Check it out!
